Have you ever wondered where to safely keep data you don’t use often?
Maybe old company records, logs, or backups etc?
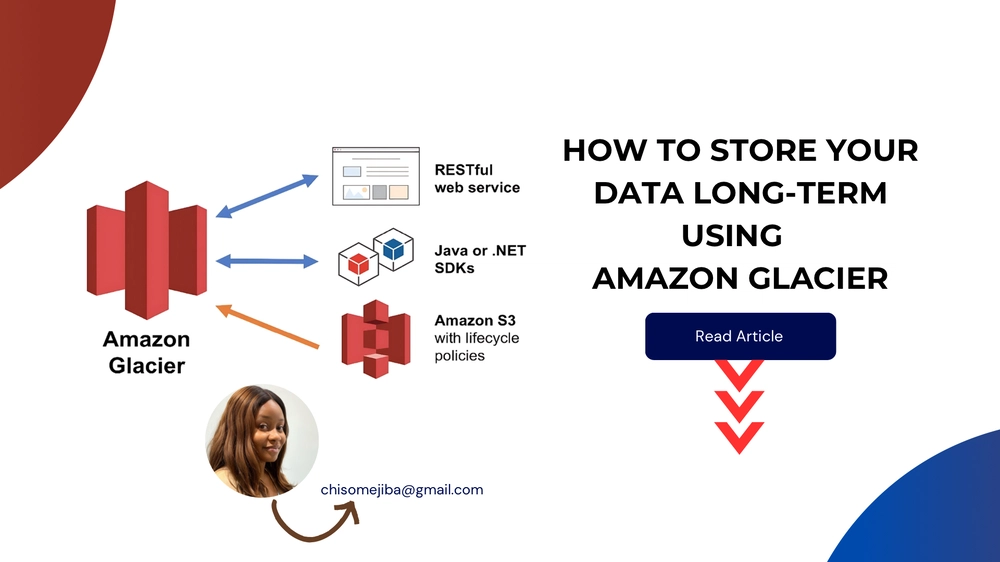
That’s where Amazon Glacier comes in.
It’s part of Amazon Web Services (AWS).
It helps you store data for a long time.
And it costs very little compared to regular storage.
Let’s walk through how to use it.
We’ll talk about 3 things:
- Creating a Glacier Vault
A vault is where your data will stay in Amazon Glacier.
First, log in to your AWS Management Console.
Go to the Amazon S3 Glacier service.

Click “Create Vault.”
Give your vault a name you can remember.
Choose the AWS Region closest to you or your customers.
Click “Create Vault.”

- Uploading Data from Your System to Amazon Glacier
To upload data to Amazon Glacier, you first need to create your own vault.
Once the vault is ready, you can upload files in two main ways:
Option 1: Use the AWS CLI or a tool like S3 Glacier uploader.
Let’s use the AWS CLI as an example.
Make sure you have the AWS CLI installed on your computer.
Run this command in your terminal:
aws glacier upload-archive --account-id - --vault-name your-vault-name --body your-file-path
Replace your-vault-name with the name of your vault.
Replace your-file-path with the full path to your file.
This uploads your file to Glacier.
You will get an archive ID.
Keep this ID safe. you’ll need it to retrieve the file later.
Option 2: Use CloudBerry Explorer (a simple graphical tool)
This is easier if you prefer not to use the command line.
Steps using CloudBerry Explorer:
Install CloudBerry Explorer → Connect your AWS account → Go to Glacier section → Create a vault (if not done already) → Right-click the vault → Choose “Upload” → Select your file from your system → Click OK


- Automating Archiving with Lifecycle Rules
Instead of uploading files manually, you can make Amazon do it for you.
This works with Amazon S3 buckets.
You first upload files to an S3 bucket.
Then you set up a Lifecycle Rule to move old files to Glacier.
Go to your S3 bucket in the AWS Console.
Click on “Management” and then “Lifecycle Rules.”

Click “Create Lifecycle Rule.”

Give your rule a name like “Archive to Glacier.”
Choose which files the rule should apply to (you can select all).
Now, choose the option to transition to Glacier after a number of days.
For example, you can set it to move files to Glacier after 180 days.
Click “Create Rule.”

Now your files will move to Glacier automatically after 180 days.
You don’t have to do anything manually.
This saves time and storage cost.
In Summary:
Amazon Glacier is great for storing data you don’t need often.
You can create a vault, upload data manually, or automate it with S3.
It’s safe, reliable, and cheap.
Perfect for backups and old records.
Want more articles like this?
Connect with me on LinkedIn

Top comments (0)